I have seen this recipe floating around the food blogosphere for awhile now. All the recipes are similar with a few twists. I adapted mine from Pennies on a Platter.
It had the makings of a perfect boy food so I whipped up a batch for my in house taste tester and I for dinner.
They were incredible! They turned out to be super flavourful and really quite easy. I am for sure going to make up a batch for the freezer for a quick dinner idea.
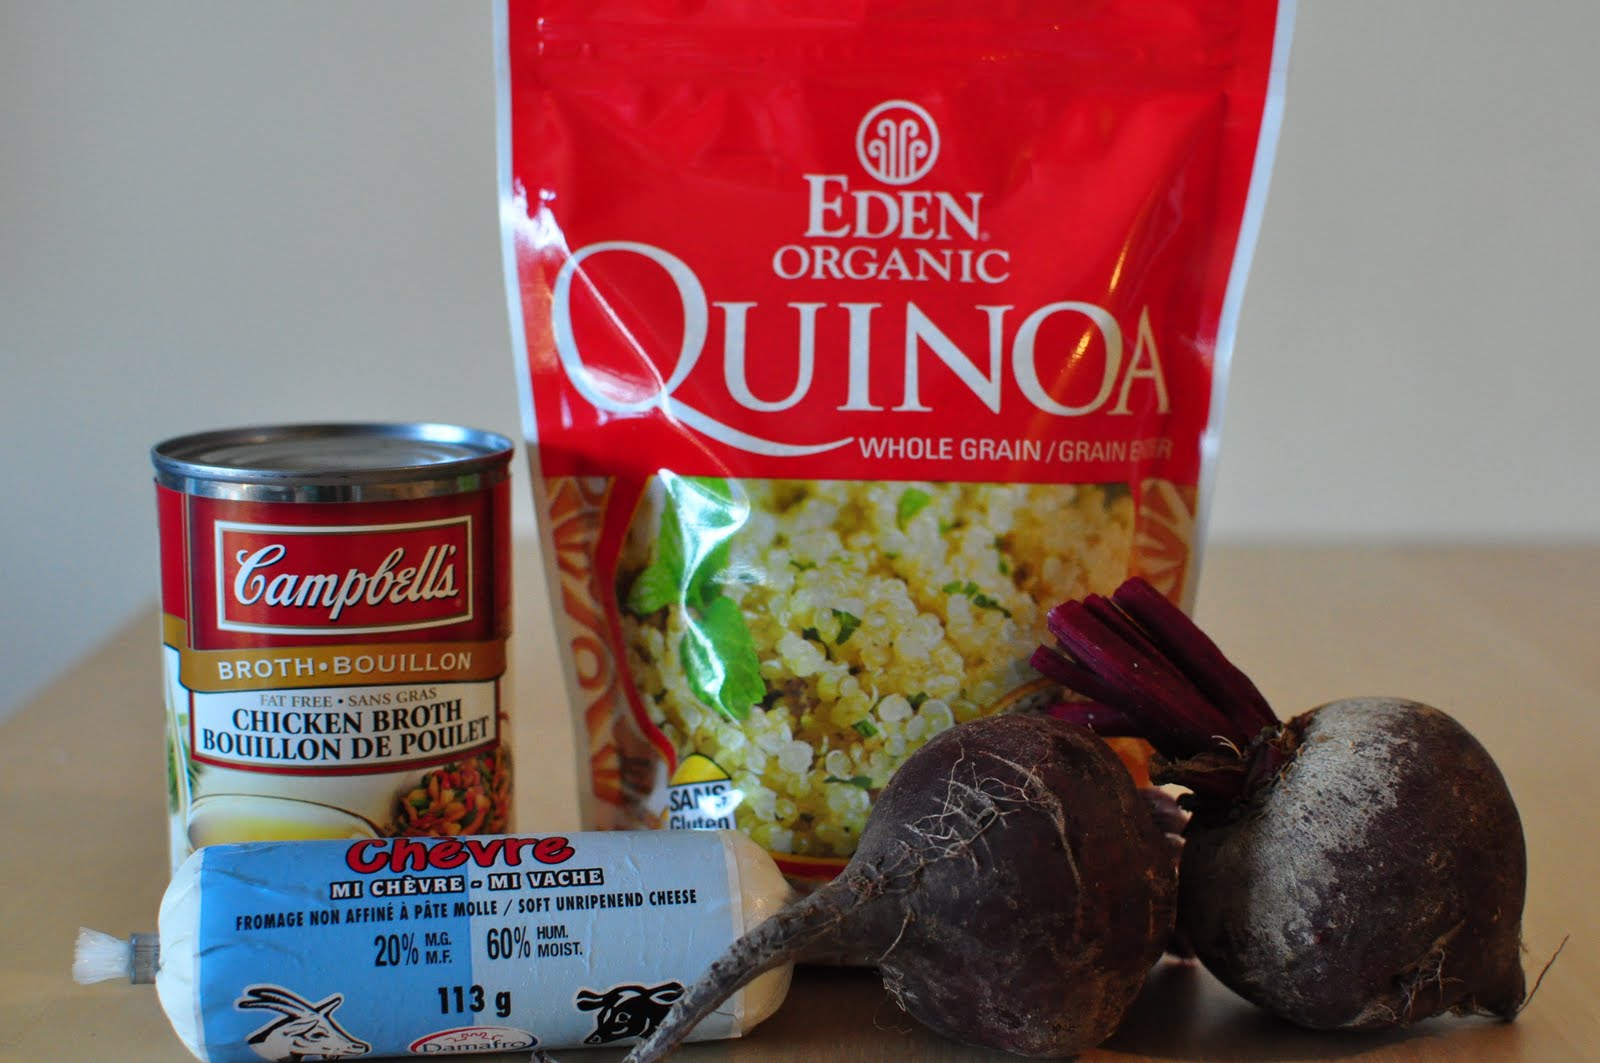
Here is what you need,
3 oz. cream cheese, at room temperature
¼ cup salsa verde
1 lime, juiced (about 1 tbsp)
½ tsp ground cumin
1 tsp chili powder
½ tsp onion powder
2 cloves of garlic, minced
1 small jalapeño, finely chopped
1 tbsp chopped fresh parsley or cilantro if you don’t hate it, like I do!!
2 tbsp green onions, chopped
2 cups cooked chicken, shredded or cubed
1 cup shredded Mexican flavoured cheese
1 pkg small flour tortillas
1 tbsp olive oil
Course salt
*You could use a store bought precooked chicken or I just seasoned 2 large chicken breasts with a little of the same seasonings from the recipe and baked them in a 350 degree oven for 20 minutes. Once they were cooked through I let them cool and chopped them into a small dice!*
Preheat your oven to 425 degrees. Line a baking sheet with parchment paper.
In a bowl, stir together the softened cream cheese, salsa, lime juice, cumin, chili powder, onion powder, garlic and diced jalapeño. Mix until well blended. Add in the parsley, green onion, stir to combine. Gently fold in the chicken and the cheese.
I prepped this the day before and just covered the bowl with plastic wrap and stashed it in the fridge. Prepping in advance made making them on a week night after work, super fast!
Take a few tortillas at a time and heat them in the microwave between 2 paper towels until just warm and soft enough to roll.
Spoon 2-3 tbsp of the chicken mixture onto the lower third of the tortilla. Roll the tortilla up as tight as you can.
Place them seam side down on the parchment paper. Repeat until all the filling is gone. I got 7. My tortillas were medium sized I couldn’t find really small ones. I suspect you would probably get 12 of the smaller ones.
Brush the tops with a little of the olive oil and sprinkle with the course salt.
Bake for 15-20 minutes until browned and crisp. I rolled mine over about half way through cooking, they held together just fine!
Serve with your favourite toppings, such as, salsa, sour cream, the rest of the salsa verde, guacamole! YUM!
If you want to freeze them for later, just put the tray of uncooked rolled taquitos in the freezer. Once they are firm, roll each one individually in plastic wrap and put them in a large zip top bag.
To bake them put them on a sheet straight from the freezer and bake at 425degrees for 20 – 25 minutes.
I am so glad I finally made these. They were a big hit here at my house! I even took one left over in my lunch and it was great just warned in the microwave!
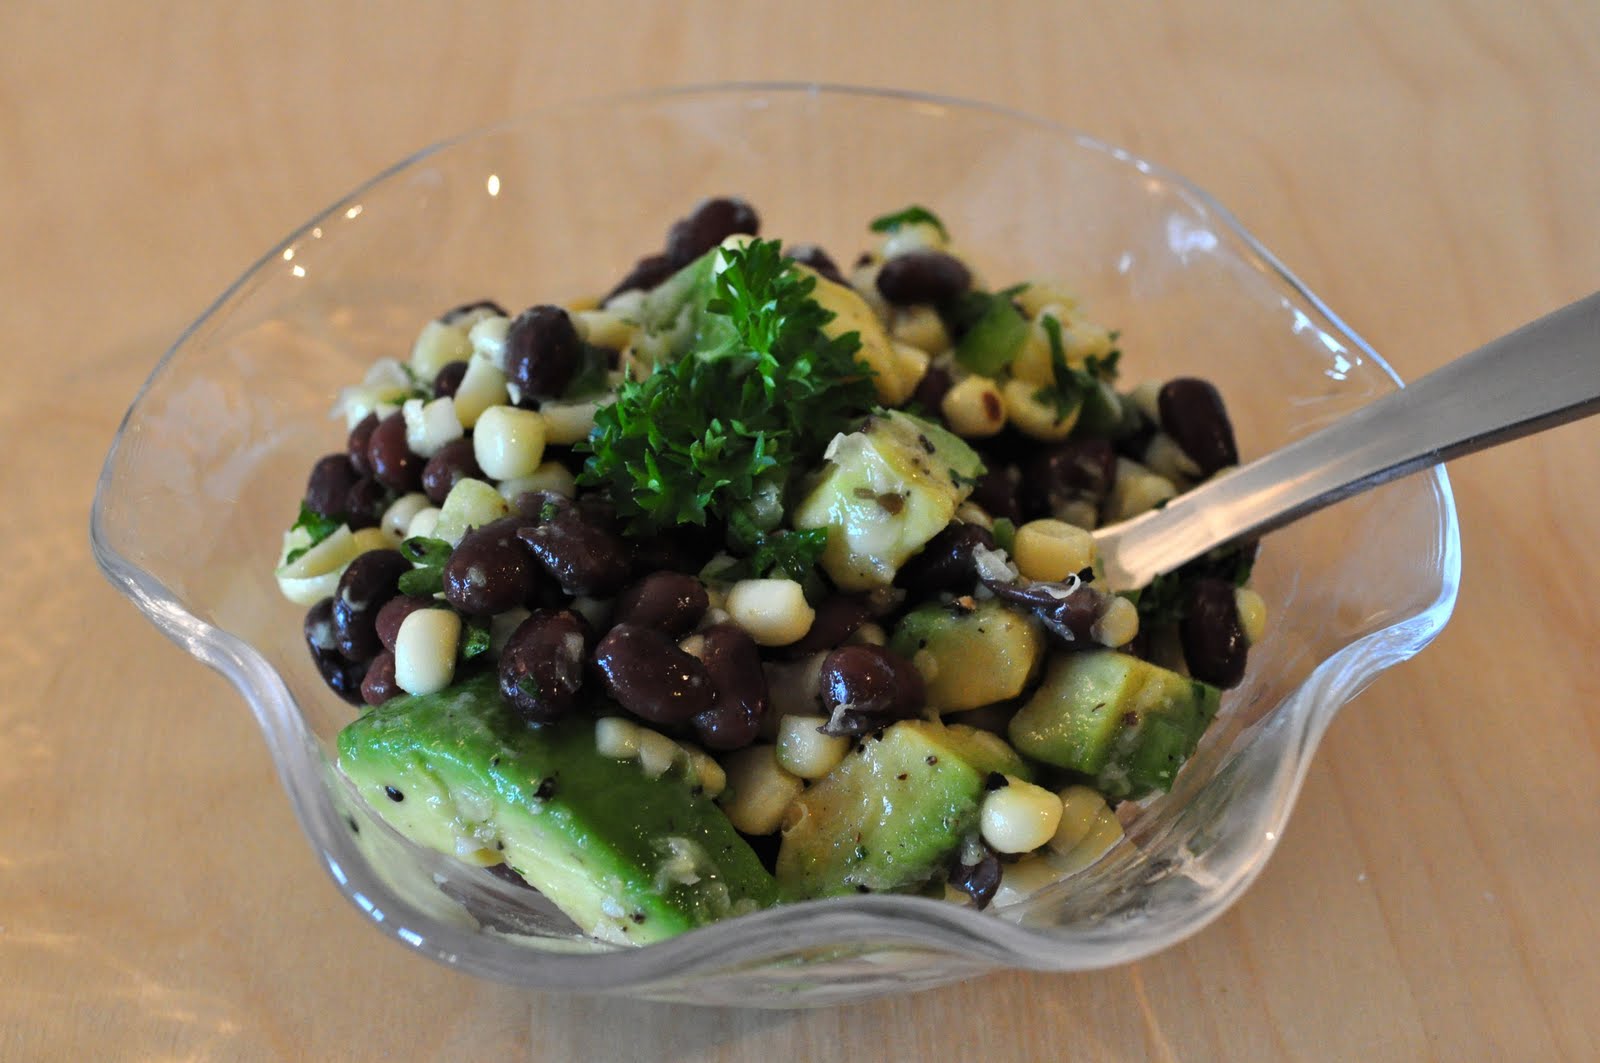
I made a lovely corn and black bean salsa to go with; I will post the recipe for it tomorrow!
Jen