Sunday, September 29, 2013

Pumpkin Coffee Cake


It has been cold and rainy here all weekend.
I am wearing my wearing slippers and drinking a warm tea. I have a big pot of hearty chili on the stove for dinner.
You know what all of this means??


I can finally start baking with Pumpkin‼ Hooray!


This Pumpkin Coffee Cake seemed like the perfect place to start!

What you need,

For the cake,
2 cup all-purpose flour
1 tsp. baking soda
½ tsp. baking powder
½ tsp. salt
2 tsp. ground cinnamon
½ tsp. ground nutmeg
¼ tsp. ground cloves
1 cup canned pumpkin
½ cup packed brown sugar
½ cup vegetable oil
¼ cup maple syrup
¼ cup buttermilk

For the topping
½ cup all-purpose flour
½ cup packed brown sugar
¼ tsp. salt
2 tsp. ground cinnamon
¼ cup butter, cold and cut into small pieces

For the glaze,
1 cup icing sugar
1-2 tbsp. buttermilk

Start by heating your oven to 350 degrees. Spray a 9x11 cake pan with non-stick spray and set aside.

In a large bowl whisk together the flour, baking soda, baking powder, salt, cinnamon, nutmeg, and cloves.

In a separate bowl combine the pumpkin, brown sugar, vegetable oil, maple syrup and buttermilk. Stir until smooth.

Add the wet ingredients into the dry and stir until just combined, don’t over mix.
Spread the batter into the prepared pan.

In a small bowl make the topping. Whisk together the flour, brown sugar, salt and cinnamon. Add the cold butter pieces and using a fork cut the butter in until the mixture resembles coarse crumbs.

Sprinkle the topping over the batter.
Bake the cake for 30-35 minutes until golden brown and a tooth pick comes out clean.

Make the glaze by whisking together the icing sugar and 1 tablespoon of the buttermilk. Add just enough of the second tablespoon of buttermilk to make the icing thin enough to drizzle.

Let the cake cool for 5 minutes then drizzle the glaze all over the top.

Store in an airtight container for 3 days, if it lasts that long!


This Pumpkin Coffee Cake is so full of pumpkin flavour. It is moist and the topping is crunchy and full of cinnamon. YUM!


Make yourself a nice hot latte and cut a big slice of this amazing cake, turn on Hart of Dixie or whatever TV show floats your boat and enjoy a perfect Fall afternoon!


Jen


Wednesday, September 25, 2013

Chicken Parmesan Pasta


Dear Hot Cheesy Pasta,

Please stop being so amazingly delicious. I am trying SO hard to quit you! It nothing personal but my pants called and they are NOT happy with the snugness lately.

Thanks for your cooperation!

Love Always, 
Jen


Chicken Parmesan is one of my all-time favourites. This super simple dish is fantastic! It really isn’t helping with my snug pants situation.


What you need,

2 boneless skinless chicken breasts cut into bite sized pieces
1 tbsp. vegetable oil
Salt and Pepper
1 - 28oz. can whole tomatoes
5 cloves of garlic, minced
½ tsp. dried oregano
1/8 tsp. dried red pepper flakes
2 ½ cups low sodium chicken broth
8 oz. of penne or other short pasta
¼ cup heavy cream
1 cup freshly grated Parmesan cheese
1 cup grated mozzarella cheese
¼ cup chopped fresh basil

Heat your oven to 425 degrees.

In a large oven safe skillet heat the oil over medium high heat. Season the chicken with salt and pepper and cook until starting to brown and cooked through.

Add the garlic, oregano and red pepper flakes. Cook for 1 minute or so until the garlic is fragrant.
Add the tomatoes and juice to the pan. Crush up the tomatoes with the back of a spoon.
Add the chicken broth and pasta and stir to combine

Bring to a boil then reduce the heat to medium and simmer for 12-15 minutes until the pasta is tender.

Stir in the heavy cream, half the fresh basil and ¾ cup of the Parmesan cheese.
Season the pasta with salt and pepper to taste.

Top with the remaining Parmesan cheese and the mozzarella.
Bake in the oven for 10-12 minutes until hot and bubbly. You can turn on the broiler for a few minutes to really brown up the cheese.

Garnish with the rest of the fresh basil.


This was a perfect weeknight meal. It took less than 45 minutes and it tasted amazing!

Enjoy!

Jen

Recipe adapted from Tracey’s Culinary Adventures

Monday, September 23, 2013

Slow Cooker Butter Chicken


I love Indian food! Growing up in Regina it really wasn’t a very big thing. When I left to move out here I think there was only 1 Indian restaurant in town.


Here in Vancouver there are a ton of amazing Indian places. My favourite thing to eat is Butter Chicken. The spicy creamy tomato sauce just kills me. A nice hot buttery piece of Naan to soak up the sauce is to die for.


I have never tried to make it from scratch before until now.
When I saw this Slow Cooker Butter Chicken on Half Baked Harvest’s site I knew I was finally gonna give it a try!

What you need,

1 lb. boneless skinless chicken breasts, cut into bite sized pieces
1 small white onion, finely minced
1 14oz. can coconut milk (I used full fat)
½ cup Greek yogurt
¼ heavy cream
1 6oz can tomato paste
3 cloves garlic, minced
1 tbsp. freshly grated ginger
2 tsp. curry paste (I used the Thai Red Curry Paste)
2 tsp. curry powder
2 tbsp. garam masala
1 tsp. turmeric
1 tsp. cayenne pepper (this made a pretty spicy sauce, use less if you want it less spicy!)
¼ tsp. salt
1 ½ tbsp. brown sugar (I felt like it needed a bit of sweetness so this is my addition to the original recipe)
2 tbsp. butter cut into small pieces

Cooked Basmati Rice, for serving
Warm Naan, for serving
Chopped fresh cilantro or parsley for garnish (optional)

In a large bowl whisk together the coconut milk, yogurt and cream.
Add the tomato paste, ginger, garlic, curry paste and all the spices.
Stir to combine.

Spray the inside of your slow cooker with non-stick spray. Layer the onion on the bottom. Place the chicken on top of the onion.
Pour the sauce over the chicken be sure to cover all the chicken.
Dot the butter over the top of the sauce.

Cook on low for 7-8 hours or on high for 4-5 hours.

I stirred the mixture twice during cooking just to make sure it didn’t stick and to be sure the chicken was well coated in the sauce.
You don’t have to do this if you don’t want to.

Right before serving, sprinkle with cilantro or parsley.
Serve immediately with the rice and naan.


This recipe is amazing! It is super easy and it tastes SO VERY GOOD!
I will be making it again for sure! I made a cool cucumber salad to go with to help with the heat!

Enjoy!

Recipe from Half Baked Harvest


Sunday, September 22, 2013

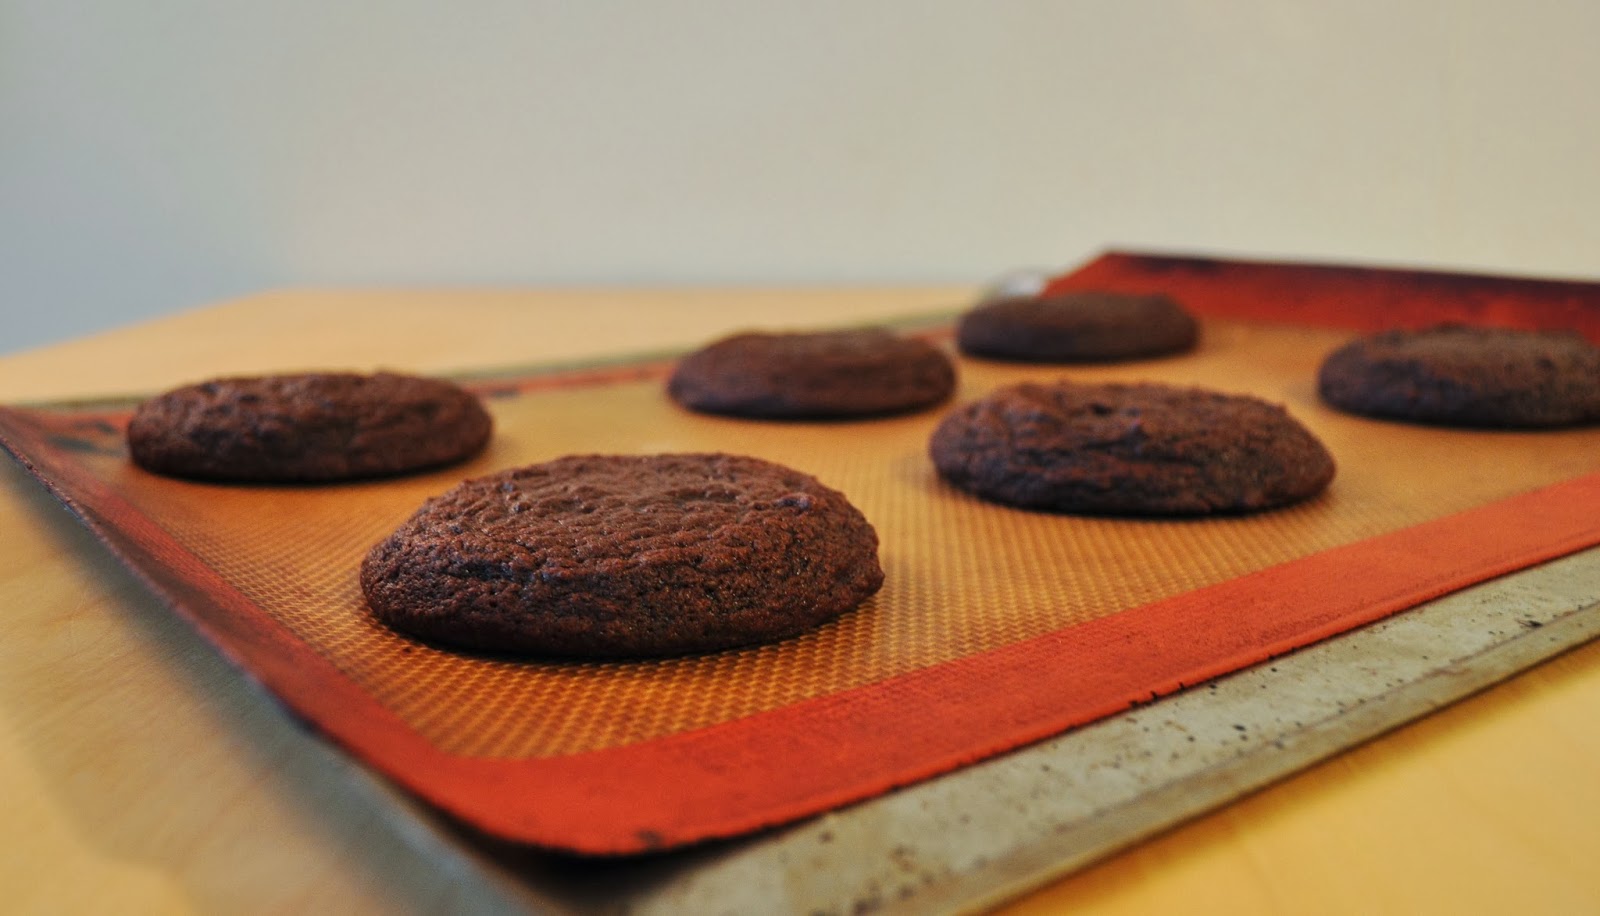
Cocoon Cookies


My sister Pam emailed me this recipe a little while ago.  


We used to eat these cookies at her friend Jamie’s house when we were young. I remember LOVING them!
I have no idea why they are called Cocoon Cookies?? If anyone knows, please share.


They are a big soft cakey chocolate cookie. An amazingly delicious big soft cakey chocolate cookie‼


What you need,

½ cup butter, at room temperature
1 cup granulated sugar
1 large egg
¾ cup sour milk, or buttermilk
1 tsp. vanilla
1½ cups all-purpose flour
½ tsp. baking soda
½ tsp. salt
½ cup cocoa powder

Heat the oven to 375 degrees. Line 2 baking sheets with silpat mats, set aside.

In a large bowl cream the butter and sugar together until light and fluffy.
Add the egg and mix until well combined. Stir in the vanilla.

In a separate bowl sift together the flour, cocoa powder, baking soda and salt.

Add half the milk to the butter mixture and stir to combine, then add half the flour mixture and stir to incorporate. Repeat with the remaining milk and flour mixture, mix until smooth.

Let the batter sit for 5 minutes until it stiffens up a bit.

Use a large ice cream scoop to place about 2 tablespoons of the dough onto the pan. Space the cookies about 2 inches apart, they will spread out a little.

You should get 12 large cookies.

Bake for 8-10 minutes until set around the edges. The centres of the cookies will still be a bit wet looking. Remove the cookies from the oven and let them stand on the baking sheet for 5 minutes before transferring them to a rack to cool completely.


These cookies are just as I remember them.
I am so glad Pam found this recipe and sent it to me, had almost totally forgotten about them. These old recipes really never go out of style.

Jen

Recipe from my Mom’s old recipe box.